Washing Rock

Since I had to empty out the garden bed, I took advantage of the opportunity and washed all the rock.   Washing rock one or two buckets at a time was a terribly long process.  I cleaned two and a half tons of rock on my patio table like this.  Each table load was about one and a half buckets of rock.

img_2509


You can see how dirty the rock was.

img_2511

img_2512


I spent several days washing rock like this.

img_2517

I finally got all the rock done and back in the planter.  Once I got the cycling working, the plants were moved back in.  I hope they do ok.  They were definitely stressed.  Most of the plants were wilted.   I also got a different liquid seaweed.  This one seemed much better.  It really smells like the ocean and seaweed.


Where’s the water going?

Last week we took a little trip to LA.  When we left, it was raining quite hard, but I thought nothing of it.  When we got back I noticed the block supporting one of the legs under the garden bed had cracked.  Each day, the block was more and more depressed in the earth.   Over the week, I also noticed water loss and the ground on the side where the depression was located was wet.   I thought, where’s the water going? I must have a hole in the pond liner and that the ground was made soft by it, thus allowing the bed to sink.

By the time the weekend came around, there was nothing to do but empty the garden bed and drain the pond.   So, that’s what I did.  I searched all over for the leak, but found none.  The ground under the liner was also only the slightest bit damp.   This left me thinking that the water was spilling over the side when full and under the full weight forcing the one corner down.

Since it is apart, I took the opportunity to clean things up.  I put in footer blocks to support the pond and garden.  I also modified some of my electrical to make servicing in the future easier.  The last thing I’m going to do is screen my rock and try and clean it up.

I currently have my plants in a kiddie pool I picked up down the street.  I loaded a bunch of the rock and water from the garden into it this weekend.   The rest of the rock as you can see is piled up where ever there was space.

img_2360

2.5 Tons of rock moved with a 5 gallon bucket

img_2427

img_2430

Great Spring Day – Time For Some Gardening

I’ve been working on finishing up my back yard landscaping.   The aquaponics garden is going good.  Our chickens are laying everyday again and its  time to finish up this year long project.  My good friend Don has really helped out.   I am awful when it comes to design – no creativity.  Mechanically, I can build about anything, but I just have no artistic ability.

This weekend I had a lot to do.  I started off by going to the nursery and buying plants for the backyard.   Once I got the plants home, I shifted focus and spent the next few hours working on my truck – resealing the intake manifold because of a water leak.   By 3:00 in the afternoon, it was time to get back to the yard and get my plants in the ground.

img_2055

In this small corner area just off of the aquaponics garden you can see Aloe Vera, Mint Saucer tucked under the far rock, some Yellow Iris by the rocks, Purple Lantana, and some Yellow Carolina Jasmine and Orange Honeysuckle against the walls.   I plan to add trellis’ later and have the Jasmine and Honeysuckle  cover the wall.   I also ran wiring for lighting — you can see the loops left behind two of the rocks.    In the center of the photo is my apricot tree.    Next to the  posts of the aquaponics garden I placed creeping fig which I will train up the post over time.

In the photo below, I added English Ivy to the corner of the chicken coop.  Over time, I will train this up the side of the coop.

img_2056


img_2054

img_2057

img_2058

img_2060

One last Carolina Jasmine on the far end of the coop which will also get a trellis soon.

Soon the water in my aquaponics will have cycled and it will be time to add my fish.   I figure about that same time, I will finish my landscaping off with the crushed granite/DG to add the red crushed rock look to the ground and give it that clean finished look.

Aquaponics Garden – Plants are In

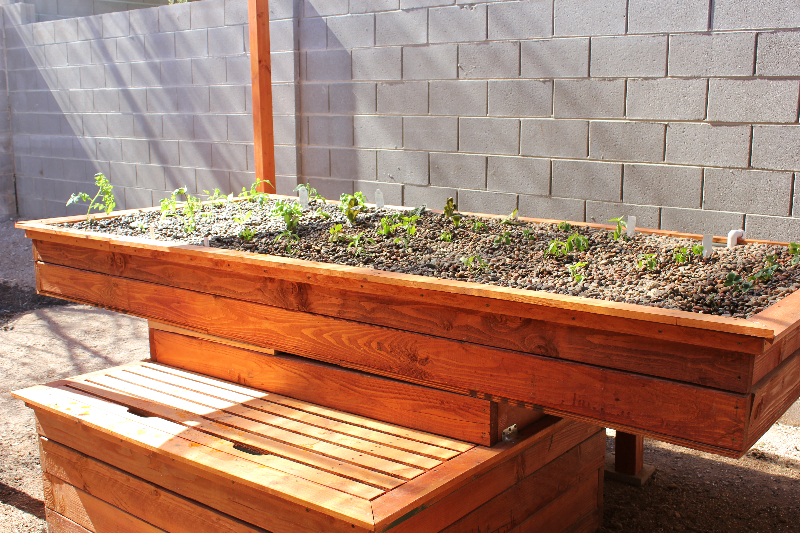
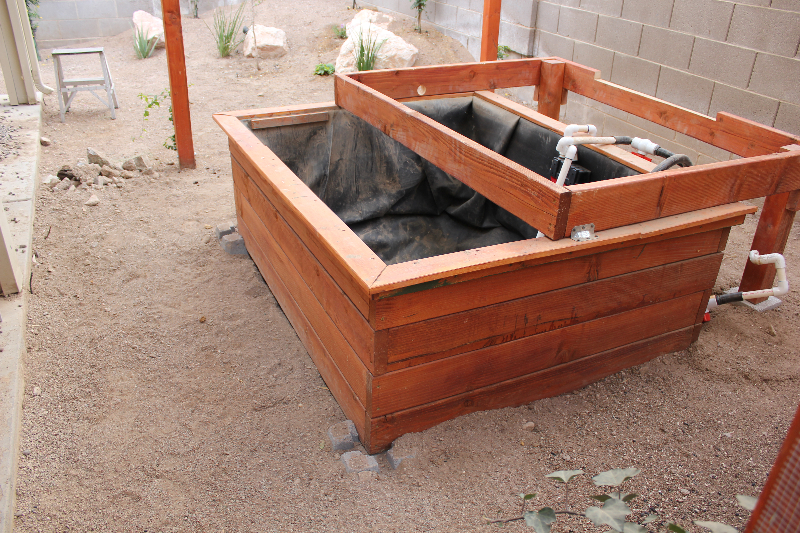
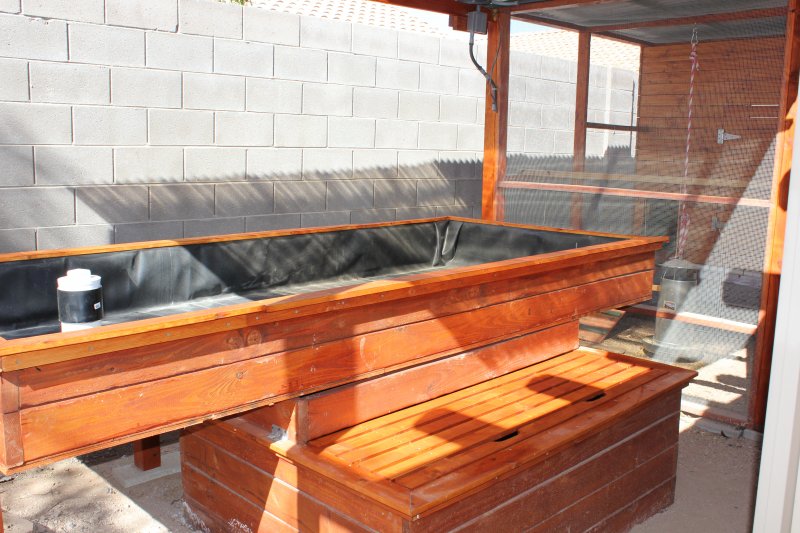
It’s been so long, I can’t remember the last time I posted.   I took some time off from my project over the holidays, and have just begun to get back in the swing again.   This month, I began testing my tank and grow bed by filling them with water and cycling the system to insure the bell siphon would work properly.   I’ve now got it set where it takes about 35 minutes to fill the grow bed, then 10 minutes to drain.

img_0970

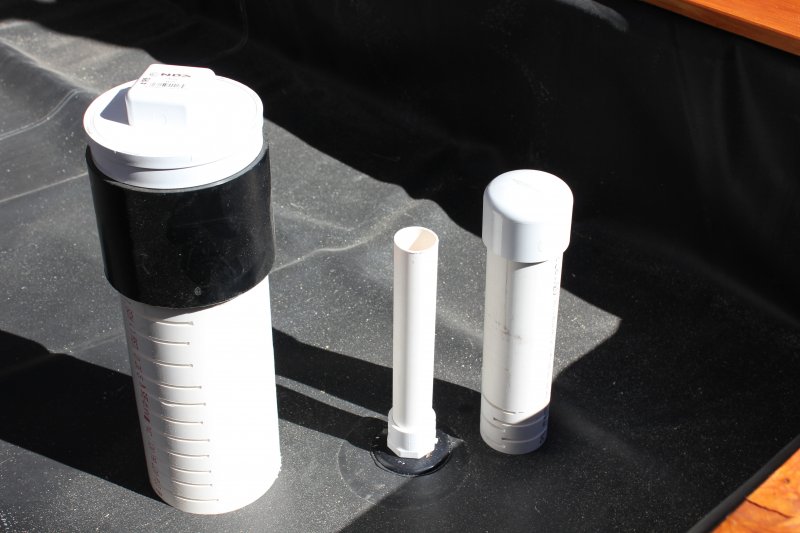
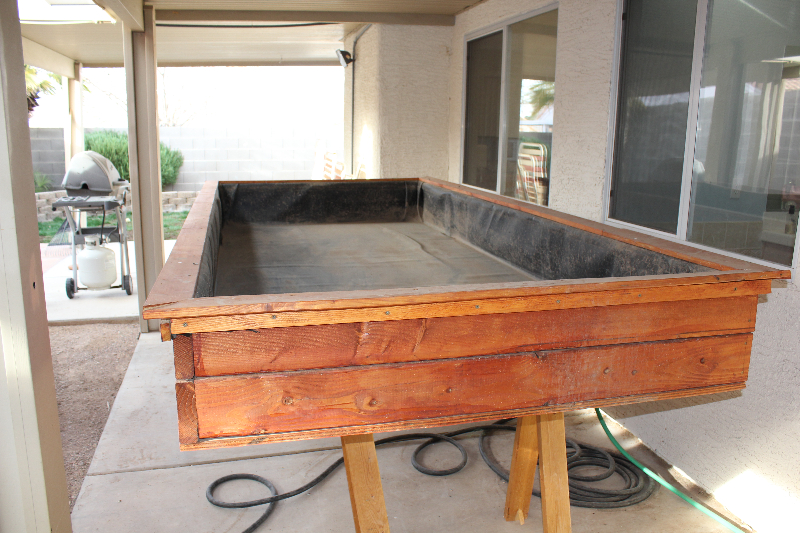
This picture is of my first siphon setup.  I’ve since changed my bell from  2″ to 3″.  With a 3″ bell, I no longer needed the cap on the filter, as the bell fills the 4″ filter completely, not allowing any media to enter.   I also added a 2″ to 1″ reducer on my stand pipe which greatly improved the starting and stopping of the siphon.  Unfortunately I didn’t take any pictures of the new siphon.

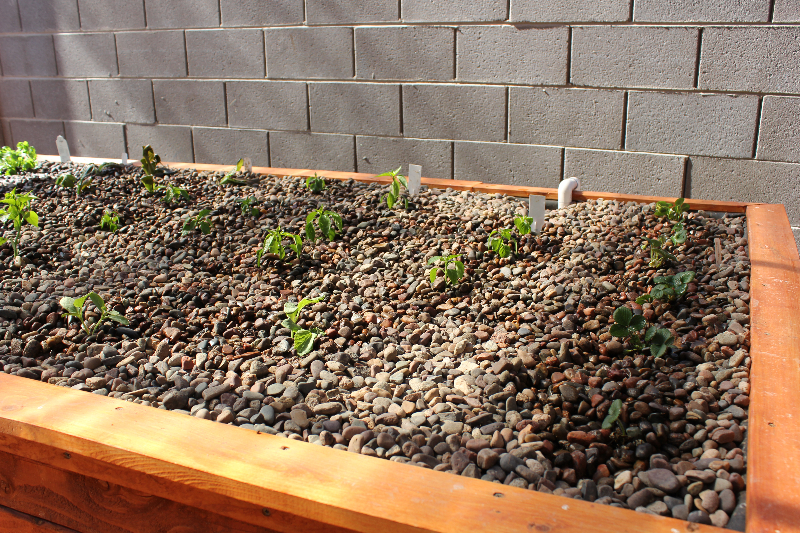
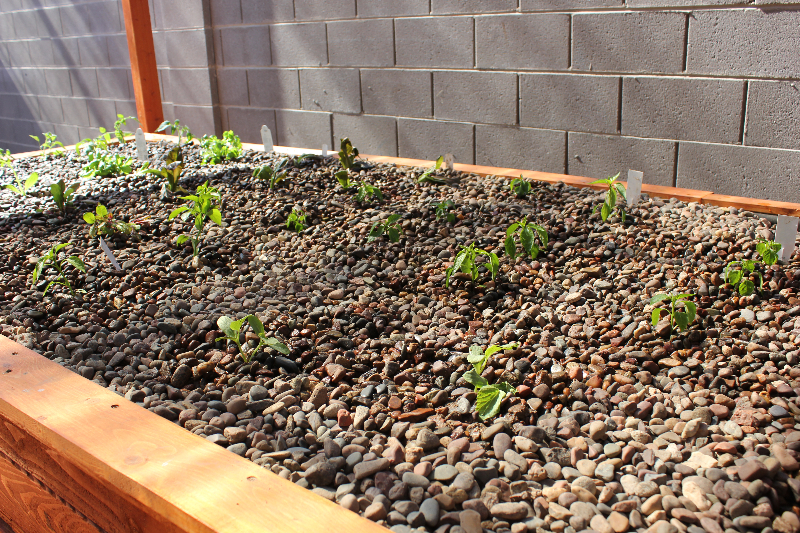
When I first started testing it was easy to set up and worked great.  Once I added my rock, it all changed.  I had to start over, adding additional holes to the bottom of my bell and filter to allow enough water flow.  Adequate flow is needed to insure the siphon will not break prematurely and leave too much water in the grow bed.    It is now set so that it will fill to about an inch below the top of the rocks, and drain leaving between 1 and 2 inches of water in the grow bed.

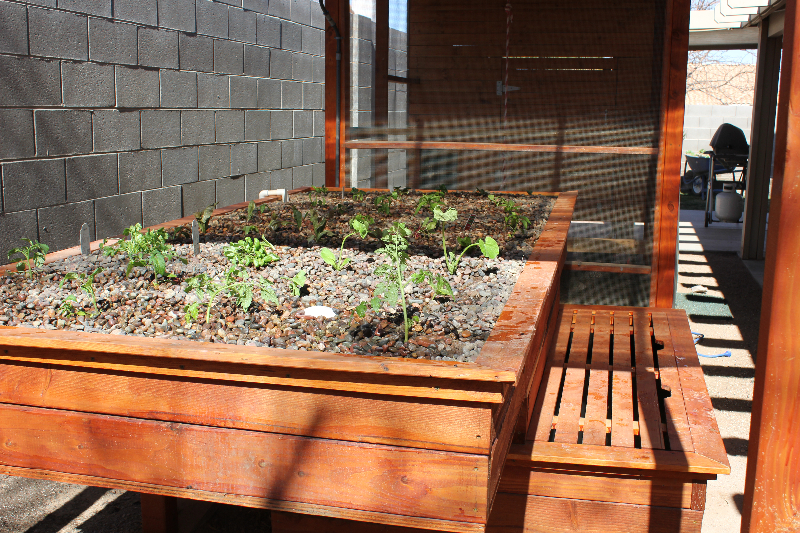
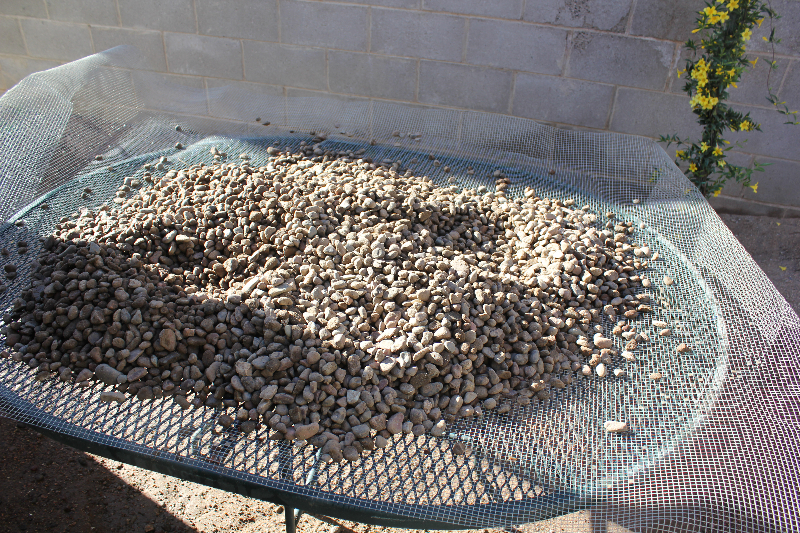
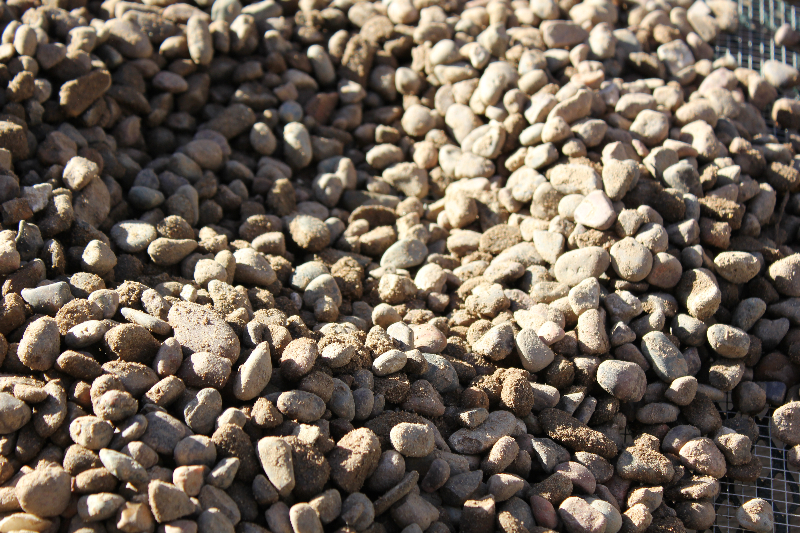
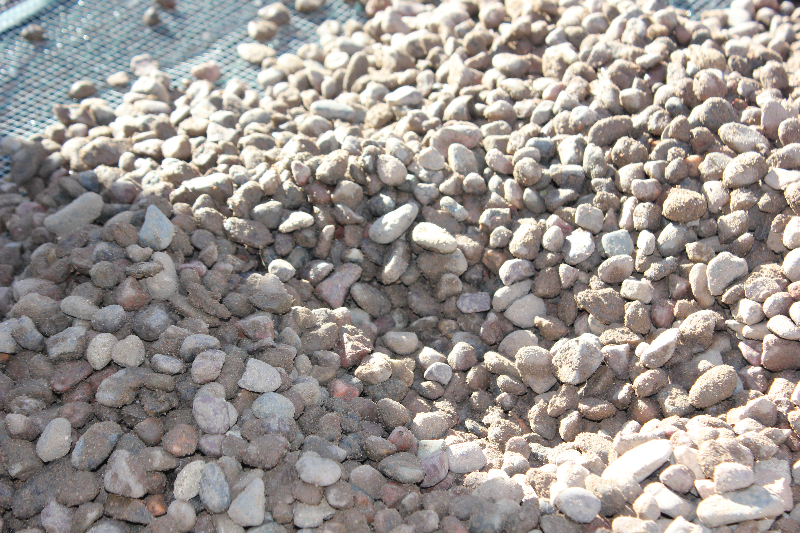
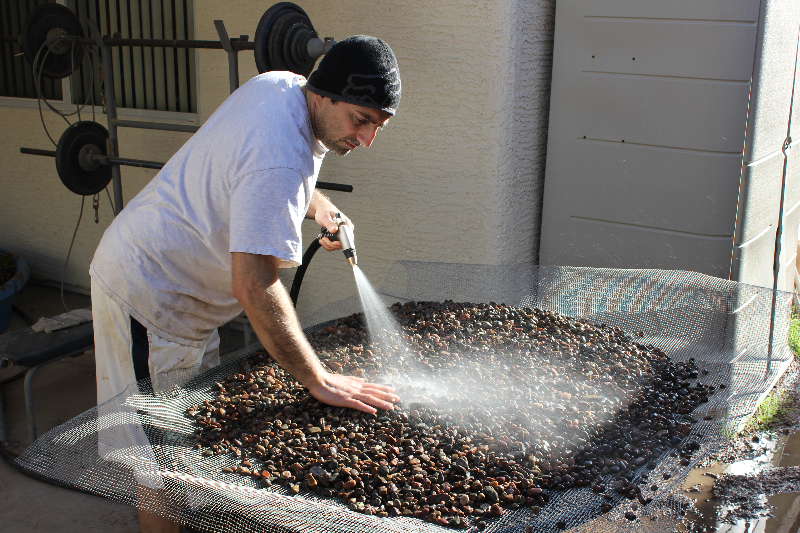
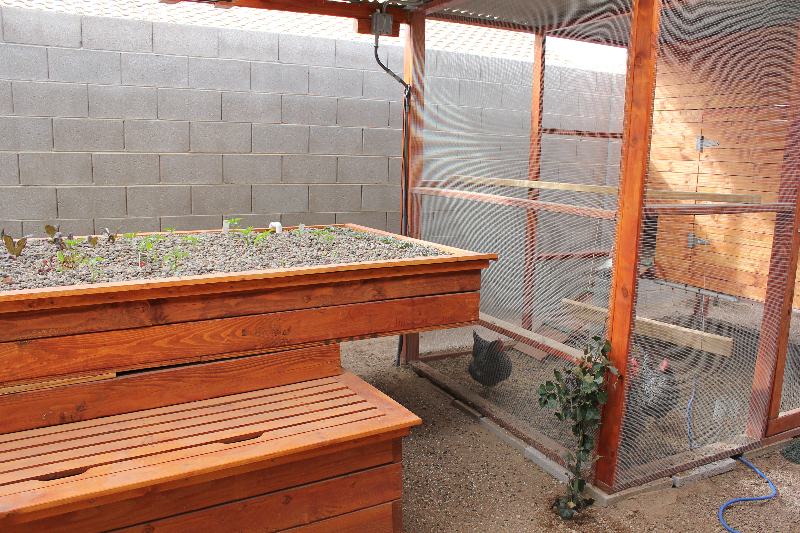
I ended up using 3/4” Arizona river rock as my grow bed media.  With the rock in and the system cycling properly, today was the day to go down to the nursery and pick up some plants.

  • Red Romain Lettuce
  • Swiss Chard
  • Zuccini Squash
  • Armenian Cucumbers
  • Green Bell Pepers
  • Yellow Bell Peppers
  • Strawberries
  • Cherry Tomatoes
  • Heirloom Tomatoes
  • Sweet Basil
  • Cilantro
  • Anaheim Peppers

The only things I wanted, but didn’t find were carrots and broccoli.  Maybe next time.

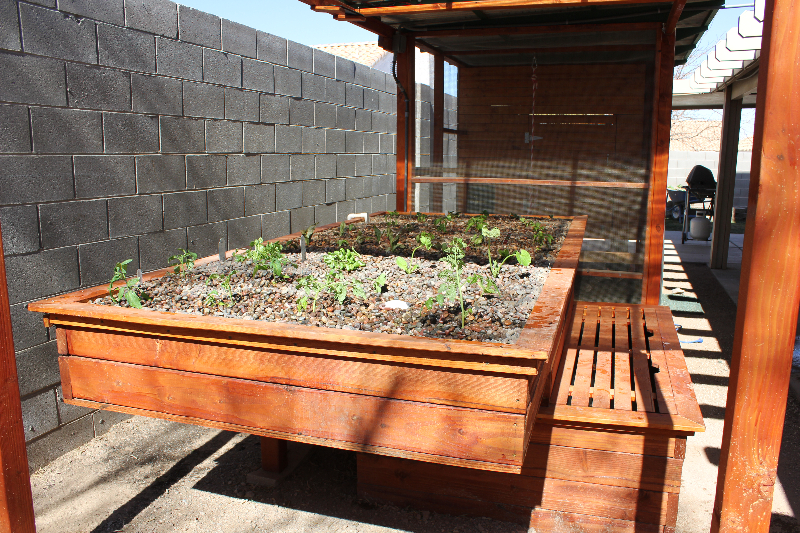
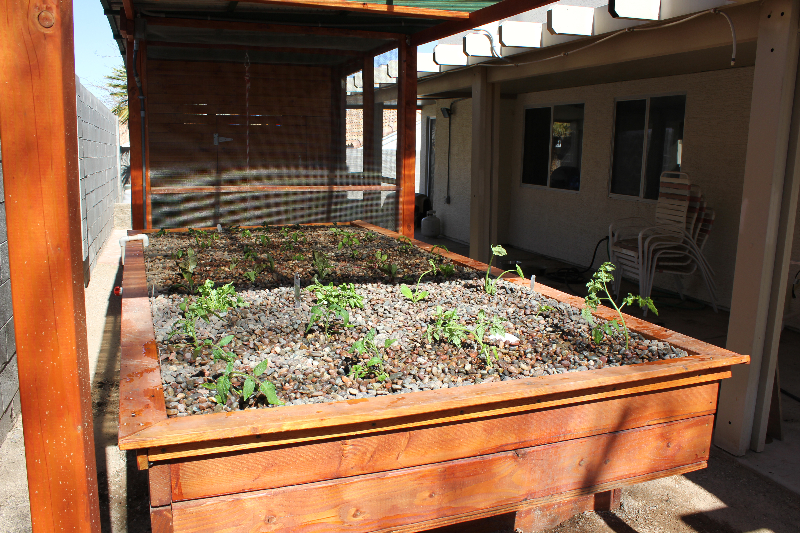
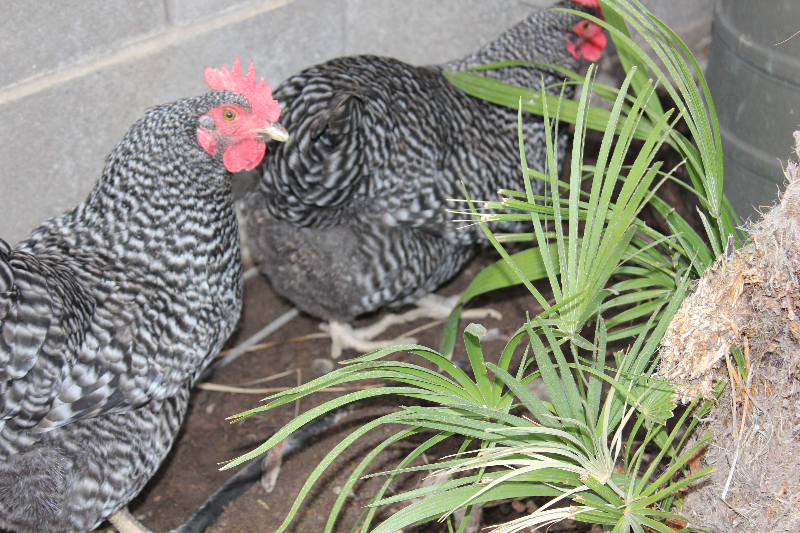
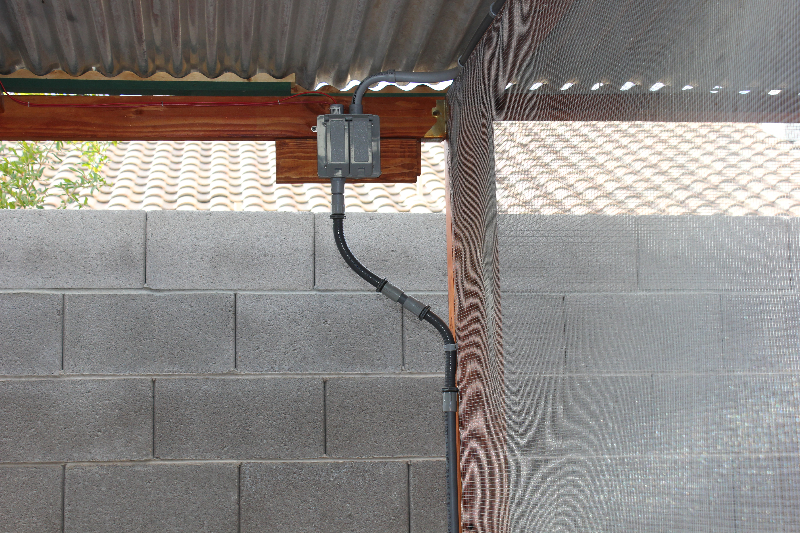
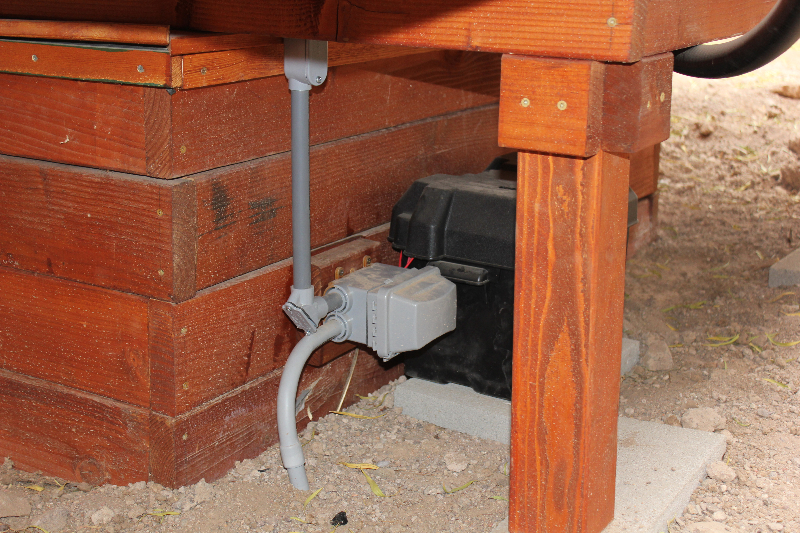
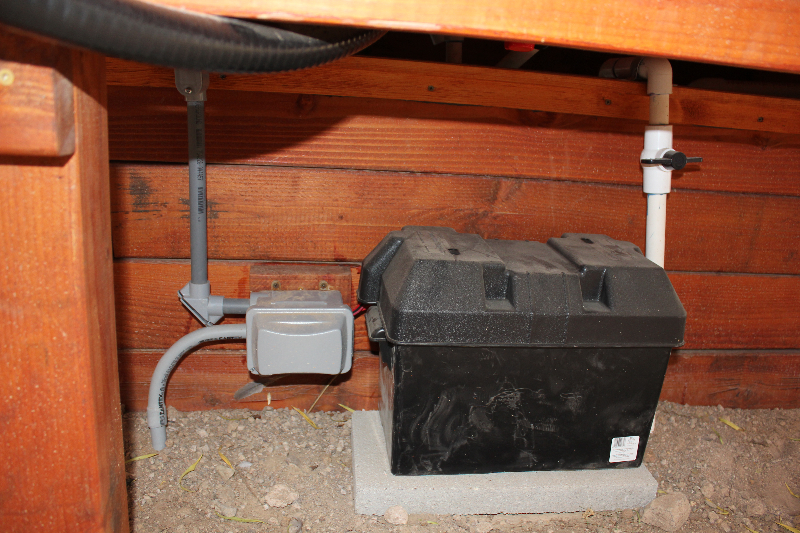
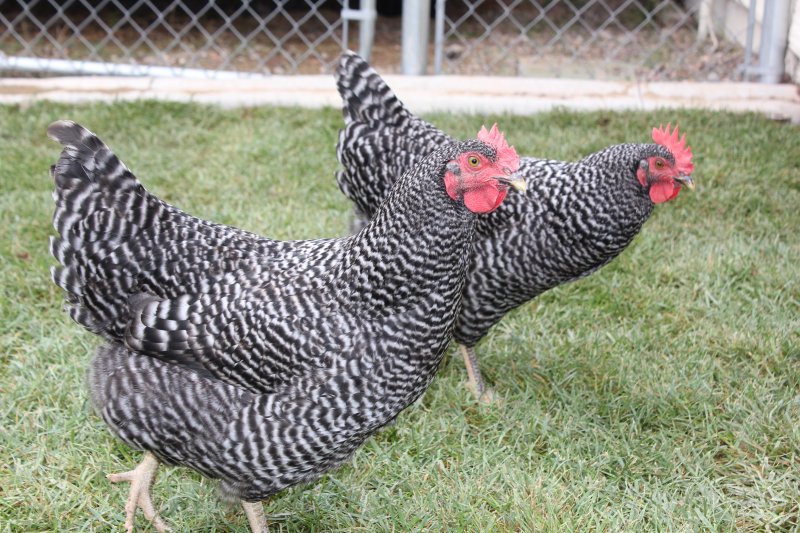
Over the next couple of weeks I expect the whole system to cycle, then it will be ready to add fish.   For the most part all I have left is to buy the fish and the backup battery and the project is complete.

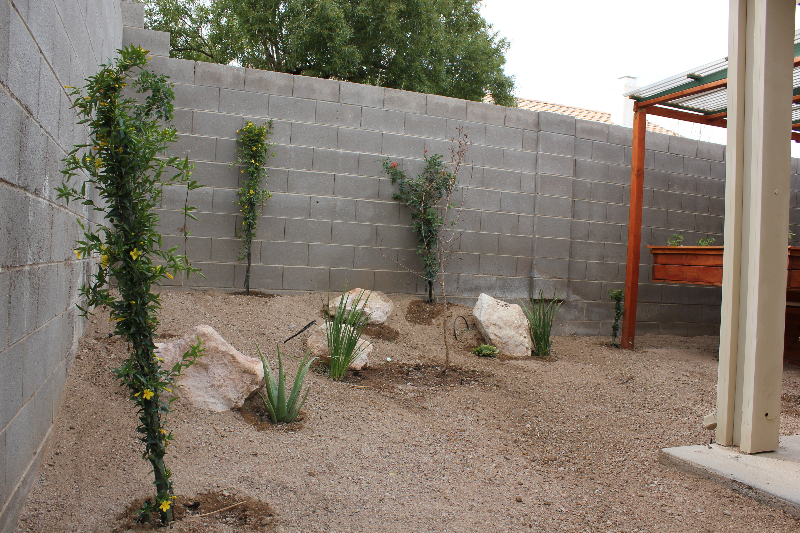
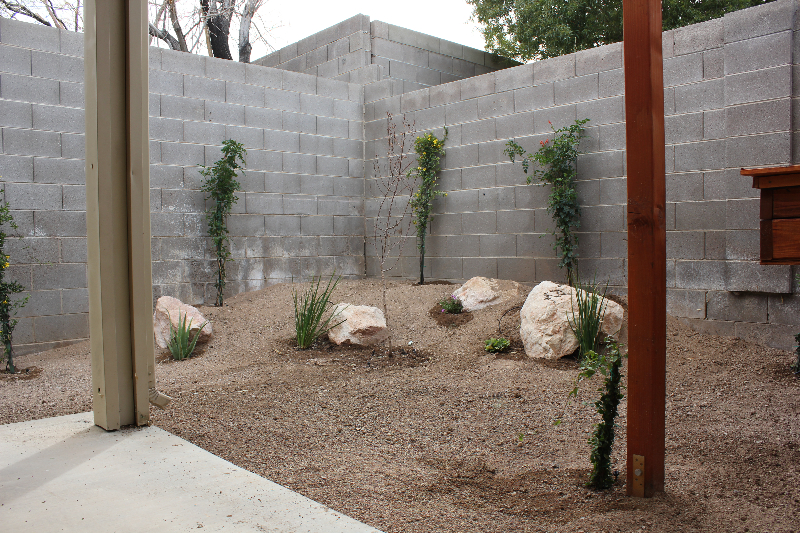
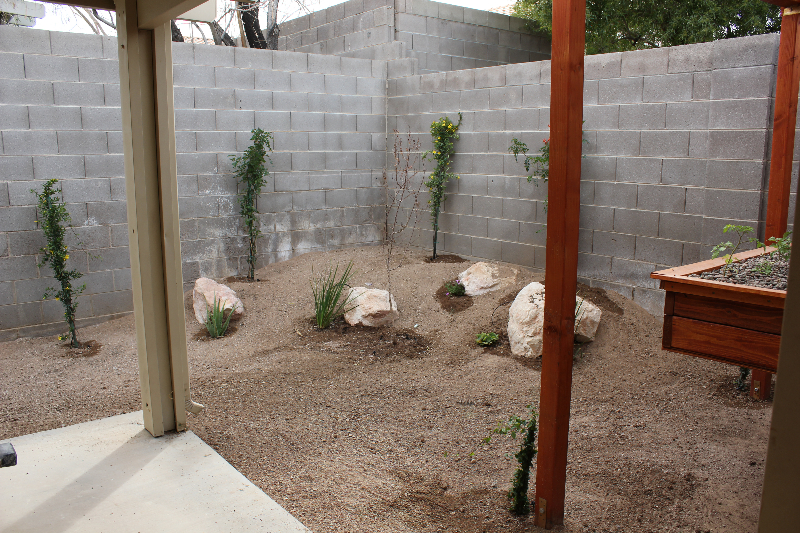
The last thing I plan to do is to finish landscaping the rest of the backyard, adding crushed red granite and some boulders; and if I can find some chicken tolerant plants, maybe I put a few of those around as well.

img_1983
img_1984
img_1985
img_1986
img_1987
img_1988

Christmas Eve

It’s a wonderful time, Christmas eve. There is great excitement in the house in anticipation of Christmas day.  Tonight we will have dinner with good friends.  Our house is decorated, presents wrapped, and Christmas music fills the air.

I took some pictures of the house today and had some fun making some elf videos.   All the boxes under the tree are only decoration.  Everyone knows Santa brings the real presents!

More to come tomorrow

http://blog.monafamily.com/wp-content/uploads/2012/12/Soul.mp4


Some more elf videos to laugh at:

http://blog.monafamily.com/wp-content/uploads/2012/12/Hip-Hop.mp4

http://blog.monafamily.com/wp-content/uploads/2012/12/80s.mp4

http://blog.monafamily.com/wp-content/uploads/2012/12/Classic.mp4

http://blog.monafamily.com/wp-content/uploads/2012/12/Charleston.mp4


Another Day Scratching in the Flower Bed

Not much happening lately.   Spent most of the day at my son’s wrestling match.  I did manage to get up a first light and plan a small apricot tree in the back yard.   Once Christmas is past, I’ll finish off the landscaping and the back yard will be complete.   Right now I just need to add the rock and fish to the Aquaponics garden, and then put some crushed granite through out the rest of the unfinished yard.  Not much more than 2 days of work left.

Late in the afternoon I let the girls out for a few hours.   They have kept my grass at this height and completely eliminated the need for mowing. Here they are scratching

around in my flower bed.

img_1307

img_1308

img_1310

img_1311

img_1315

img_1318


Aquaponics Garden Plumbed and Wired

I’ve been able to complete all electrical and plumbing for my aquaponics garden.   This week the pump arrived.  I ordered a Lifegard Quiet One 4000 pump rated a ~900GPH.


Along with this main pump, I installed an emergency backup pump.  This is nothing more than a bilge pump which is used just to aerate and circulate the water in the pond in the event of a power outage.   It will run off of a 12 deep cycle battery.   To make this work, I wired in a 12v relay which is powered by a “wall wart” plug/transformer I had stored in the attic from some long lost device.   I found a deal on five of these relays with the pig tail plugs for $4.99 on Amazon.


This is how my electrical and plumbing looks:

img_1178   img_1174
img_1175   img_1176

All that is left is to buy the rock for the garden bed, then start the water cycling and add plants.   Once the water has cycled and is stable, I will add fish to the pond.   Then it will be on to finishing the rest of the backyard, some crushed granite, a tree, and that should be it.

It’s getting close

It’s that time of year here in the Vegas valley where we have 2 or 3 weeks of wonderful weather.   Time to enjoy to outdoors.   I’ve spent the spring and summer working at a painfully slow pace on my coop and garden project.   Seven months into it, I’ve finally finish the wood working part of my project.  The coop and aquaponics pond and garden bed are built along with the patio cover.

img_0965   img_0967

You can see the pond cover/bench seat now completed and in place above.

I’ve also put grass back in the small area by my planter.   The chickens have loved the addition.  When I first put the grass in, I wondered what I was going to do about keeping it cut since I had given away our lawn mower.   This turned out to not be a problem.  The 4 chickens have kept the grass perfectly manicured.  I let them out every afternoon for a few hours.  In turn, they keep the garden bed clean of weeds and the soil gets turned everyday along with a daily grass trimming.

img_0956

The girls have figured out the whole laying program.  We are averaging 3 eggs a day.  Occasionally we get 4, sometimes 2, but most days we get 3 and they are always in the next boxes now.

img_0974

I hope to soon complete the entire project.   Only a little plumbing and electrical is left along with putting the gravel in the garden bed.   I’ll begin now with the rest of the yard clean up and any additional landscaping to blend it all in.
This is the bell siphon I built which is used to drain the garden bed water back into the fish pond.

img_0968   img_0970

1st week of setting eggs

This past Sunday we found our first eggs.   It has now been a full week and I’m guessing that all four of our chickens are laying.  There have been a total of 14 eggs set over the week.  Unfortunately, 5 were broken.   We found a couple of our girls were nesting in the very upper corner of the coop atop a bag of pine shavings.  It appears that some of the eggs fell and cracked (we hope).   I say that because we found one of the girls up there eating an egg.   Hopefully we can break that behavior quickly.

img_0953

Our first egg!!

We have been waiting patiently for 21- 1/2 weeks.   I peaked in the coop and today after church and guess what, there was a perfect little egg, finally!  It wasn’t in the next box, but was in the pine shavings on the coop floor.   I have golf balls in the next boxes, but may need to put some wooden eggs in there to better encourage the girls in.

img_0940

img_0949

img_0950

Friday evening, my son and I put grass back in the small patch by our planter.   A few years ago I had pulled out the grass and turned this area into a garden.  With the aquaponics garden coming, we decided to put grass back in.  The chickens sure seem to love it.   They spend a good deal of the day picking through it, eating the blades and looking for anything else they can find in the mix.

img_0943

Last month, I switched the feed from the organic crumble sold at the feed store to a whole mix of bulk items from Winco.  To me, it just looks like real food in contrast to the bag food I was getting, even if it was organic.   The new mix seems to last significantly longer and cost much less – always a good thing!

Some of the things I put in the mix:

  • Hard red wheat
  • Split green peas
  • Lentils
  • Black sun flower seeds (BOS)
  • Flaxseed
  • Oat grouts
  • Sesame seeds
  • Barley peals
  • Millet
  • Cracked corn
  • Nutritional yeast
  • Oyster shells

I got this idea from a great blog post by Garden Betty  – Garden Betty’s Homemade Whole Grain Chicken Feed