
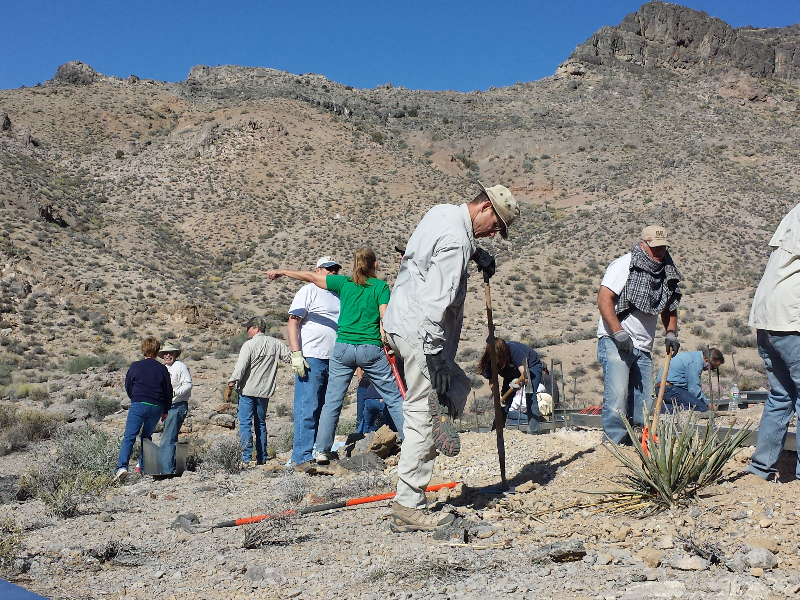
This weekend I was invited to help put in a guzzler in the Sheep Mountain Range. A guzzler is a water source for the animals in the area, and while this was primarily for Bighorn Sheep, it will also provide water for coyotes, bobcats, mountain lions, bees, and all sorts of birds and other native wildlife in the area.
For pictures, I only had my phone with me, but I took a number of pictures. Unfortunately the sun was so bright I couldn’t see my screen and couldn’t tell what I was shooting or how it looked. As a result, at some point I touched something and set my camera to black and white….oh well.
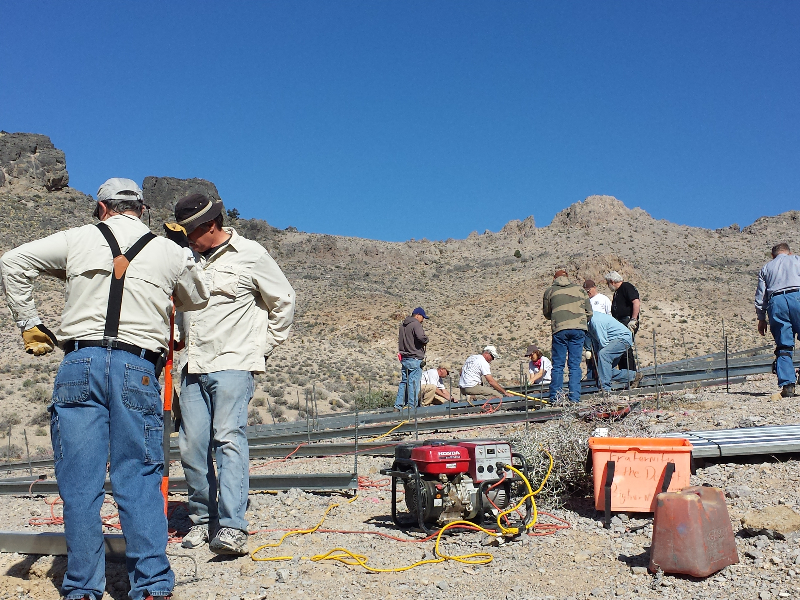
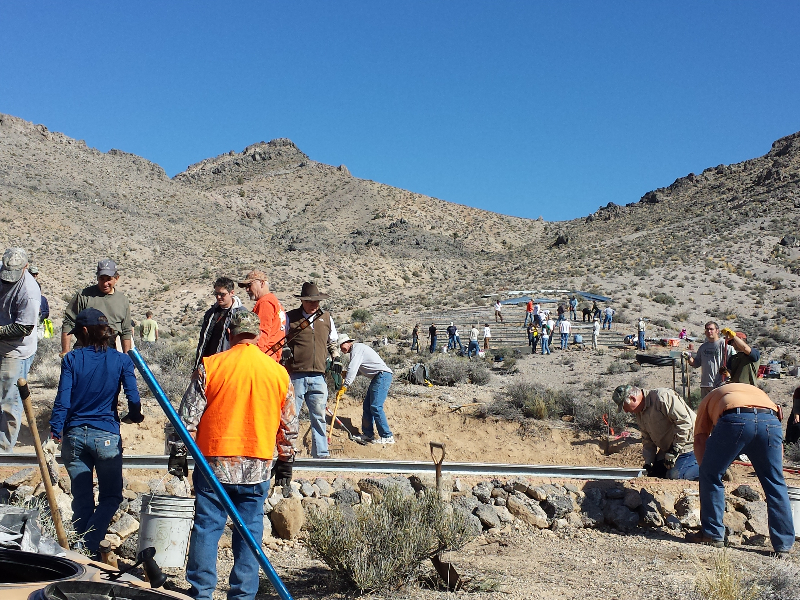
Folks from a number of clubs, fraternities and organizations participated in this project – NDOW, WHIN, and The Fraternity of the Desert Bighorn are a few which were represented. I’m sure there were a number of others. The turn out was really quite impressive and ran the gambit from young kids to old timers. While most of the kids spent the day playing and exploring the rest worked. And boy did they work! I was really impressed with how hard an all volunteer group would work.
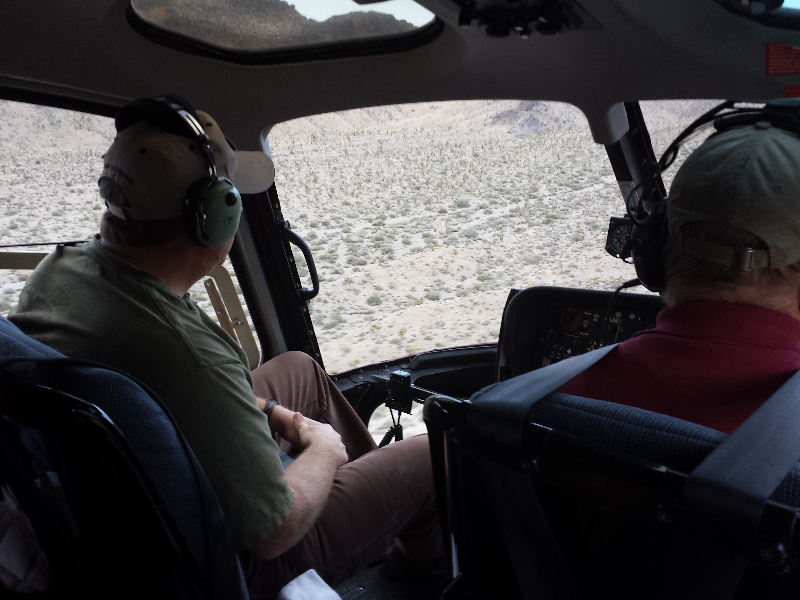
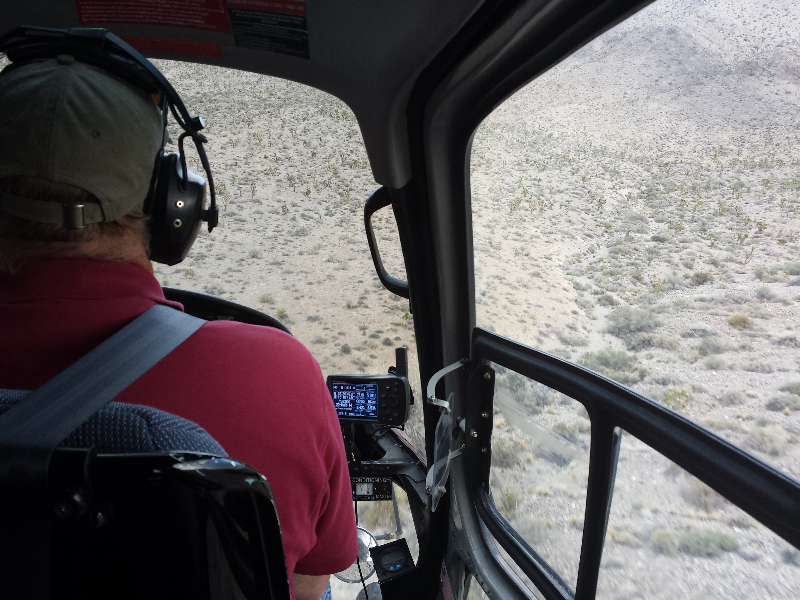
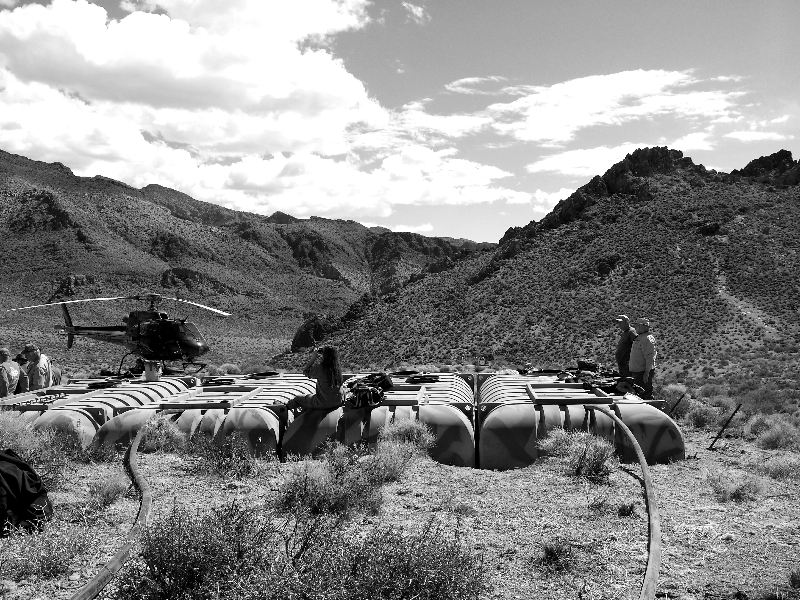
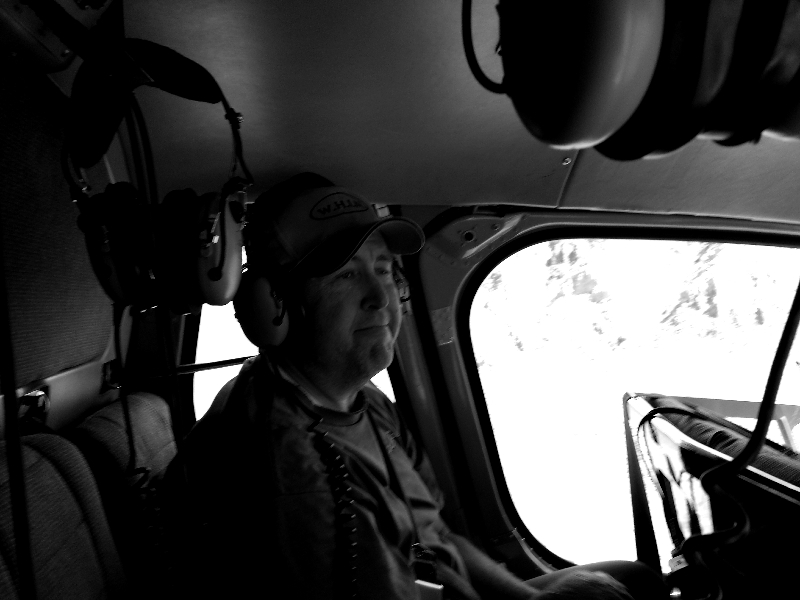
We started about 7:00 AM with a briefing from our pilot who would fly us into the remote area – You know, all the safety stuff about, buckle up, how to enter/exit the helicopter, how to shut it down in case of a crash, and “most importantly, don’t forget to take the pilot with you if he is unconscious and the aircraft is on fire.” As soon as we landed, we quickly exited the aircraft and grabbed picks and shovels and went to work.
Briefing

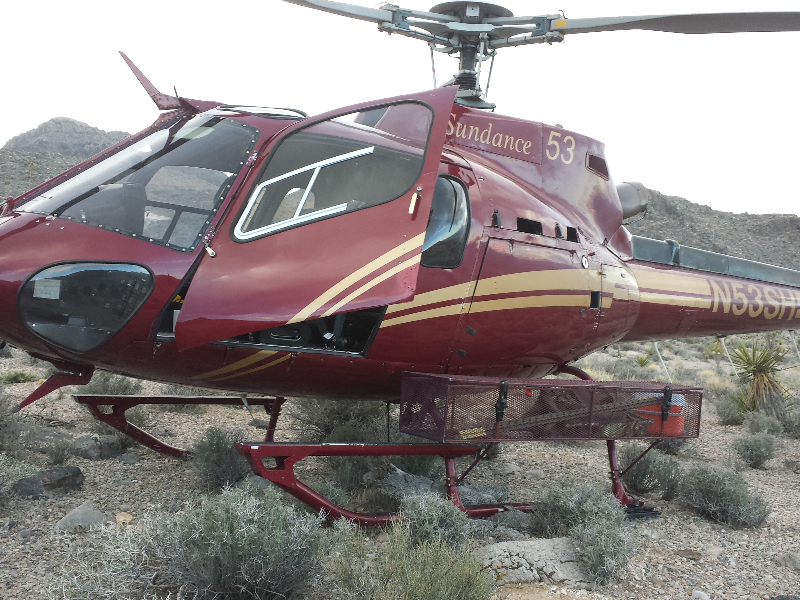
Flying out to the site
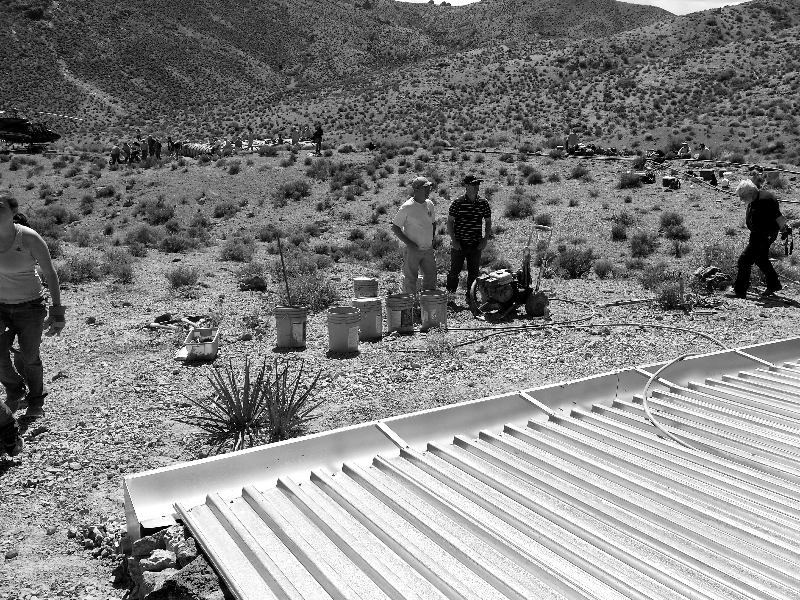
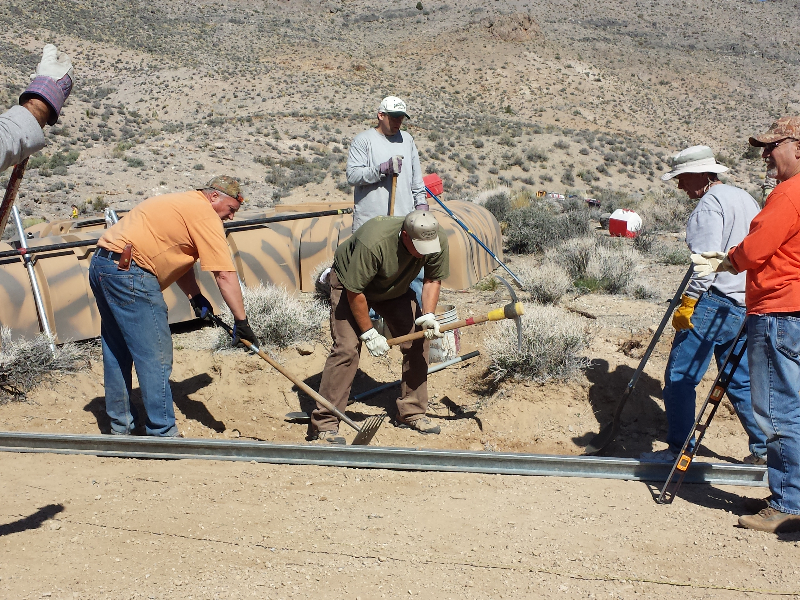
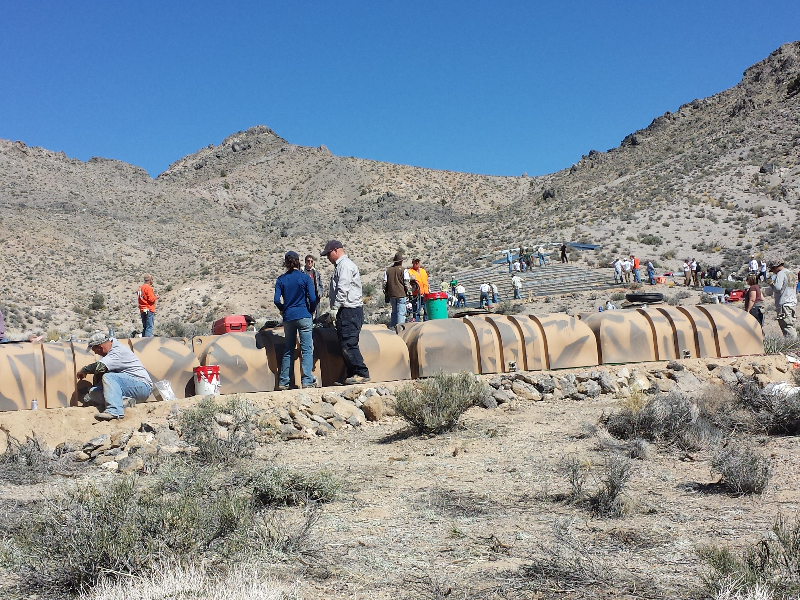
The guzzler consists of three main parts, a water shed which is located further up the hill, storage tanks, and a drinker. The water shed is made of corrugated roofing type material and is placed so that when it rains, the water will run into a trough which will feed the water through pipes to the storage tanks. The storage tanks for this project consisted of four 2300 gallon tanks. And finally a drinker which is a smaller container which is open to the surrounding wildlife providing them drinking water.
Setting up the water shed:
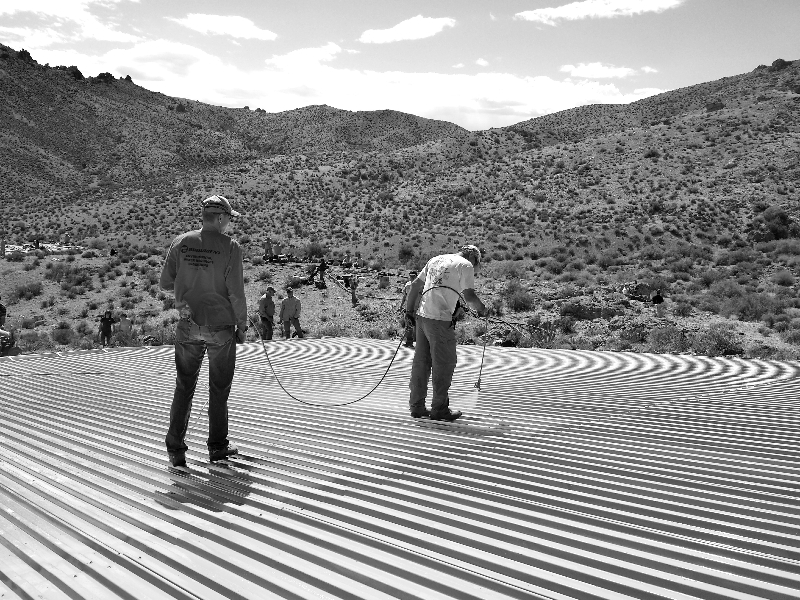
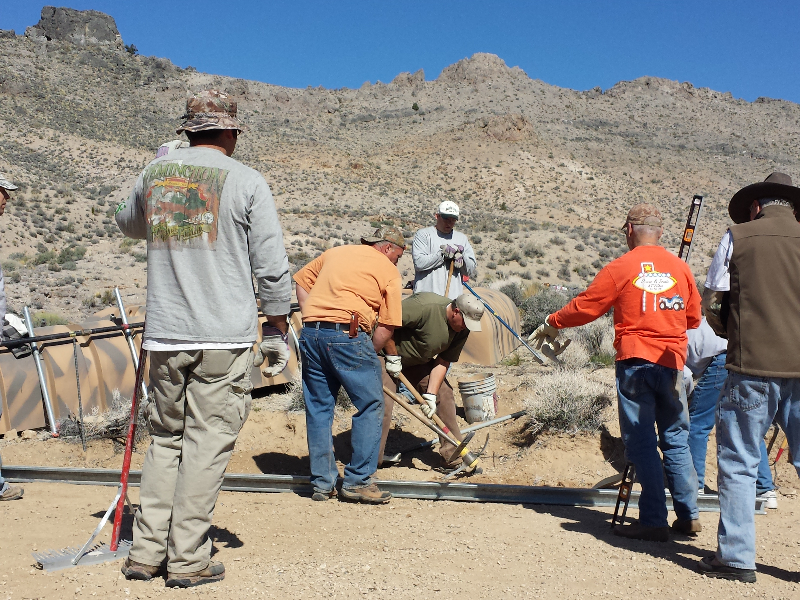
First thing we did was measure out the area where the shed would be placed and outlined it with stakes and surveyors string. We next cleared the area of plants and rocks so we could build the foundation of the water shed. To do this, rebar stakes were driven into the ground and to those, cross beams were attached. Once the foundation was in place, the corrugated metal sheets were laid in place and fastened to the cross beams. A collection trough was placed at the lower end of the shed and plumbed down to the storage tanks. Finally the shed was mopped with vinegar and painted desert cammo to better blend in with the surroundings.
Clearing the ground and setting the foundation
Water collection trough
Painting the shed
Setting up the storage tanks:
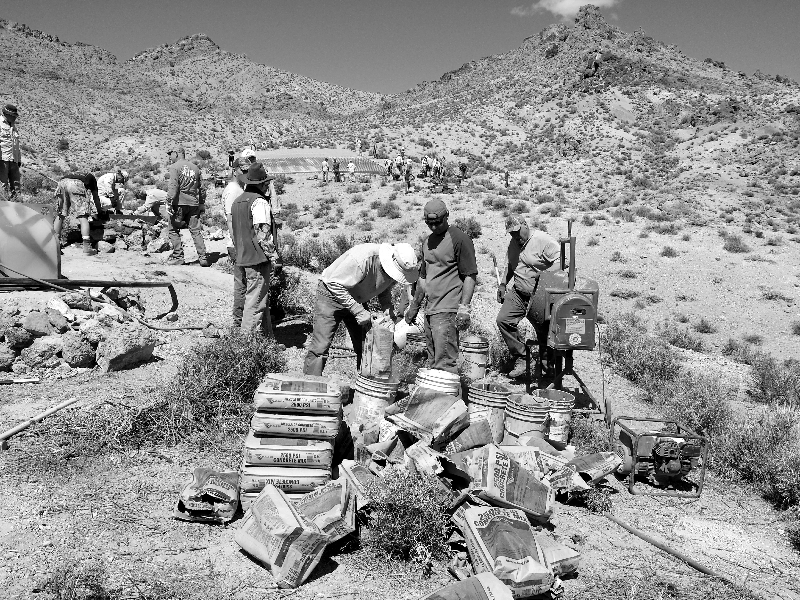
The storage system consisted of four large tanks, approximately 16’x8’x30″, each with a capacity of 2300 gallons. These tanks were also painted desert cammo. Unlike the water shed, the tanks are required to be level and all at the same height. We again began by measuring out the area and outlining it with stakes and surveyors string. Once that was done we went to work leveling the ground. Once the area was level, sheets of plywood were laid down as a foundation for the tanks. Finally, we had to put the tanks in place. We did this by sliding 20′ pipes through holes on the sides of the tanks. Then lift bars were placed under the pipes and over the top of the tanks. It required about 15 of us to lift a tank and carry it up the hill and place it on the foundation.
Once in place, the needed plumbing fixtures were installed and piping run.
Leveling the ground for the tanks
Tanks placed and plumbed
Setting up the drinker:
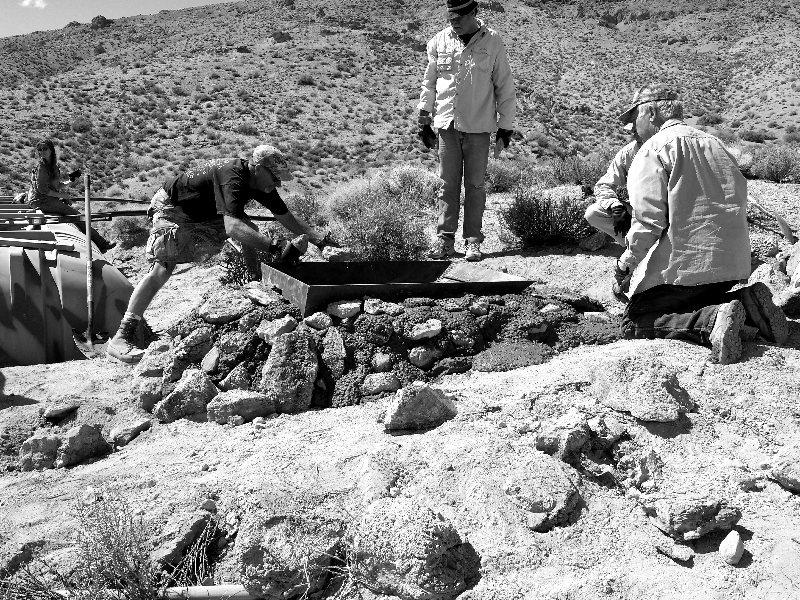
The drinker is a large metal box, made of what looked like 3/16″ plate steel. It was about 3′ tall with a base of about 1′ square and was about 3′ x 5′ at the top with a sloping back wall. This too was quite heavy and required a number of us to maneuver it into place….over and over again. The drinker, like the tanks had to be level and the top of if at the same height as the top of the water tanks. This would allow water to gravity feed to the drinker and eliminate the need for anything mechanical like a float valve, thus eliminating any possible failures which might drain the system of its precious water.
We mixed at least 50 bags of concrete to set the drinker and built a foundation around it leaving the top about 6″ above the ground to help prevent dirt from being kicked in. On the sloping back of the drinker, rebar and meshing were also welded in place to allow a “stairway” for anything which might fall in to climb out.
Drinker set
Mixing concrete
By the time I got home, my body was aching all over. Picking, shoveling and moving bag after bag of concrete had worn me out. It was one of those times where no matter what I did, I couldn’t find a comfortable position and just craved sleep. Now it’s the next morning and I feel great, tired still, but feeling good about what I was able to help with.
Heading home
All picures:


